Sunday, October 31, 2010

Topsides Finished

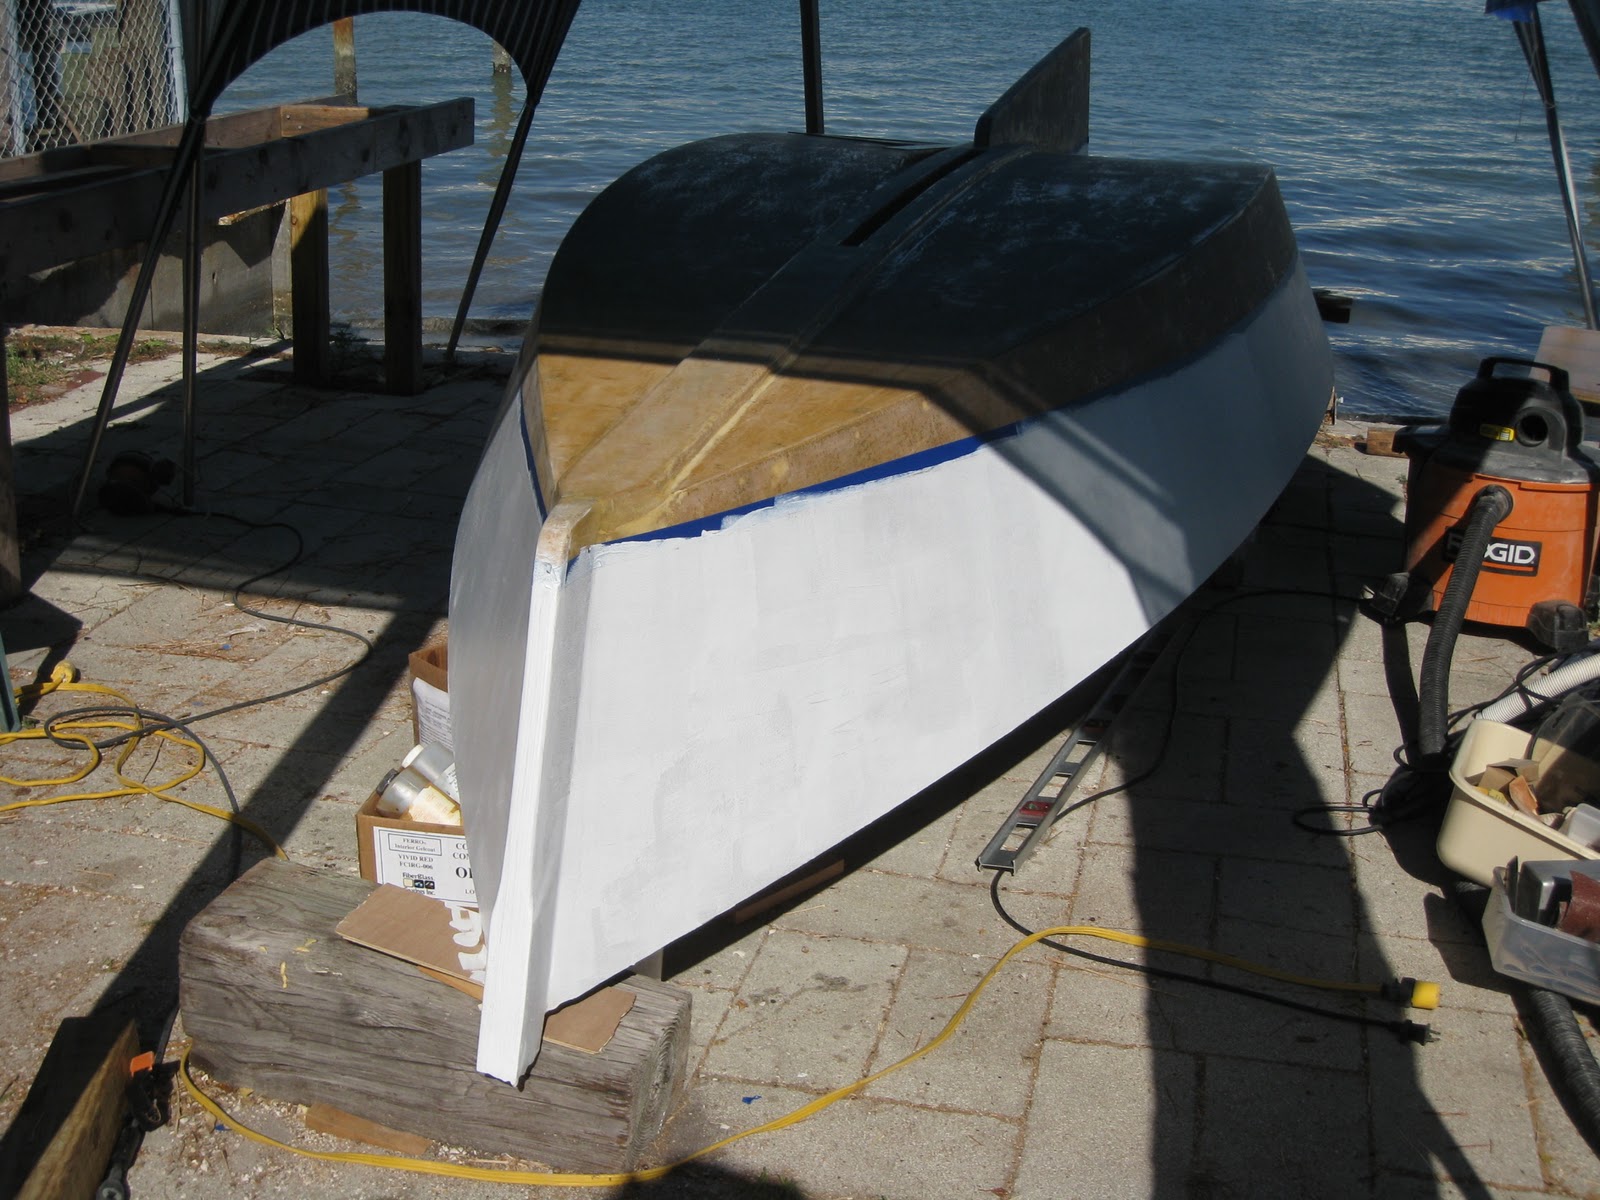
The second and third coats of paint went on the topsides today; it dries almost as fast as I put it on. Later I downloaded a font I liked and printed a pattern for the name. For fun I cut it out and pasted it to the transom. The photo is inverted, of course:


The next step will be to re-tape the waterline over the white, and paint the bottom. It will be a red anti-fouling paint, although I do not expect to leave the boat in the water much. Maybe before the end of the week (another trip out of town) I'll be able to flip the boat and work on the inside again.

Saturday, October 30, 2010

Science, Technology and Topside Paint


In my last post I bragged of striking a waterline on one side by simply moving along the side with a spirit level and a pencil. That claim, to use a Watergate-era phrase, is no longer operative. That approach produced a nice fair line, but not a level one. It took me a while to figure out why. The topsides flare out, so a level placed against the topside will give a reading perpendicular to the "fall line" on the side. It will be level only at that point. Any other point marked on the spirit level will be closer to the chine, and not level to the ground. If that sounds counter-intuitive, trust me. When I sighted along the resulting waterline to the horizon, the difference was obvious; it would have been even more obvious in the water.

Technique #2: I tried a water level. The idea here is to use a long clear plastic tube full of water, fix one end to a reference point, and move around the side marking the level of the visible water in the other end of the hose, taking advantage of the fact that water seeks its own level. The science is perfect. Applying the science is a complete failure. Can you guess why? Every time I moved the hose, the change in its shape affected the volume inside the hose slightly, and moved the water up or down both ends significantly. You wouldn't think so, but it did. A water level would work, but only with two people working together. One would monitor the reference point and call out up, down, and mark. Other problems with a water level are bubbles of air, which must be carefully flushed out, and the drops of water in the ends of the hose, which can run down and join the main column of water, changing its level. All in all, good science but poor technology.

Technique #3, which I did not try: A laser level, which I don't have, would work well set up to the side and panned from bow to stern, once the boat were levelled precisely fore and aft and side to side.

Technique #4: Do it the way the book says. Erect two horizontal boards across the bow and stern at the height of the desired waterline. stretch a string between the boards, and where it just touches the boat is the waterline at that point. Move the string around to create a series of points, and finally connect the points. Again, the science is indisputable. The problems in real life are daunting: the two boards must be perfectly straight, which no board ever is; the points at the bow and stern where the waterline should end must be exactly at the same level as each other; the boat must be perfectly level side to side; and the boards at the ends must be at precisely the same height as the boat. It is hard to get it all right at once, and hard to keep it that way while working. Nevertheless, with Mrs. Strongback's assistance, I finally struck a satisfactory waterline that way. In the picture below, look how the blue tape lines up with the horizon in the background. Not perfect, but what is?


It took two full days and half a roll of masking tape to get the waterline right, but only 20 minutes to put on the first coat of topside paint.
If I were a boatbuilder, I'd have been fired long ago for lack of production. As it is, I'm having fun. It is time very well spent.
Thursday, October 28, 2010

Not a Cello

I remember many years ago my Dad describing the beautiful old Dragon class boats as being built "like musical instruments." That mental image was so vivid it stuck with me, and I thought about it yesterday while sanding out the latest coats of epoxy.

The bottom and topsides were fair and pretty much smooth: no drips, runs, sags or bumps. The plywood butts were imperceptibe. It did have a sprinling of small slightly low spots, typically about 1/4" across. More epoxy and sanding alone wouldn't get the surface perfectly smooth. I would need to spread a mixture of epoxy thickened with glass microballoons, and then sand that fair. From experience I know that once you spread a putty mixture like that it is easy to sand it smooth but a long and aduous job to get the surface fair again, with no assurance of success. So I considered how smooth I needed to get it. If I were building a plug for a fiberglass mold, the answer would be that nothing less than perfection would do. If I were building to a "Dragon" standard, well, I fell short of that long ago. Since the boat I'm building is in the tradition of humble workboats- not a cello- it is obvious the goal should be a good workmanlike level of finish, but no fancy stuff or pretense of perfection.

From having dabbled in model building years ago, I know that for a job to look right, it needs a consistent level of finish. If one part is rough and another highly and precisely detailed, the whole thing looks bad.  It makes sense that the same principle would apply to actual boats, though I've never heard it explicitly mentioned. For that matter, I'd expect that artists try to do the same thing. Anyway, it was easy to convince myself to call a halt to finishing the hull's exterior.

Also yesterday, I struck a waterline on the hull.As I mentioned in an earlier post, I have read about many techniques for doing that. When it came time to do it, I didn't follow any of them. I simply levelled the boat fore and aft and athwartship, located the waterline at the stern from the plans, and used a small spirit level to work my way forward, marking every six inches or so, and checking as I went by sighting across the bay to the top of a seawall 1000' feet away. When I reached the bow, the line I'd drawn was less than 1/4" from where I'd guessed it would be- success. Now I can either repeat the process on the other side or just measure and match what I've already done. With the waterline drawn, I can tape it and paint the topsides and bottom. That will be worth a photo. Once the exterior is painted, the boat will be turned back over and work can resume on the inside.

Last Sunday I happened to notice a classified ad for a solid brass 9# anchor. I got a careful description over the phone and bought it sight unseen. It's about 25 mi. north of here, and I'll pick it up next Friday on my way out of town for a ten-day trip. I hope the anchor is not a disappointment, but don't have much invested in it in any case.

Tuesday, October 26, 2010

Building Up a Finish on the Hull

Tuesday, 10-26:

No time for boatbuilding yesterday, but today I coated the hull with epoxy, and added another coat after the first one initially set up. According to the West System technical manual, as long as epoxy is "plastic", not hardened, additional epoxy will bond to it chemically; so today I was able to get two coats on without sanding in between. It's possible that I won't need any more coats to get a smooth finish. I won't know until it is fully cured and sanded.

A couple of days ago I copied all the previous posts to a .doc file so I'll have a permanent record of the project. I screened the file with a spell checker; it was surprising and humbling to see how many typos and straight out spelling errors I had made. They will remain uncorrected on the posts themselves. Since it gives me a nice warm feeling when I notice other people's grammar and spelling errors, I'm glad to be a source of similar pleasure for others.


Sunday, October 24, 2010

Sanding...

…and more sanding:
Sunday, October 24, 2010
After two weeks out of town, I got back to work today.
Before I left I had put a second coat of epoxy on the bottom and topsides. At least one more coat will be needed before the weave of the fabric disappears and the surface is smooth and fair, but the quality of the final finish depends more on patient sanding rather than just more epoxy. So today I spent four hours repeatedly going over the hull with an orbital sander and a belt sander; and hand sanding the corners.

If you are curious what a sanded hull looks like, I offer this photo along with my best wishes for more excitement in your life.

Friday, October 8, 2010

Steps Done and Begun, Sail Received, and a Hiatus

Friday, Oct. 8

I put the sixth and final coat of varnish on the mast and sprit this morning. The spars are done, except (there will always be excepts) I have left the mast a few inches long until now, to facilitate varnishing. Now I can trim it off and varnish the truck.


After sanding yesterday's filled spots, the hull was ready for...


... the first of the finish coats of epoxy. This will be sanded and reapplied until either it's absolutely smooth or I say "enough already." 


While I was working, the sailmaker called to let me know the sail was finished. So after the epoxy coat was done I drove down to his loft to pick up the sail. I used a local sailmaker, Keith Donaldson, who goes by Advanced Sails, but it's a one-man loft. Although he has many years of experience, this sail is a first for him in several respects: a sprit rig, a quadrilateral sail in that there is a club at the clew, a luff which laces to the mast, and a vertical line of reef points. He took a lot of interest in the sail, and he is curious how it will perform. Of course, so am I. I am well pleased with the job he did, and can recommend him, especially for a job which is out of the ordinary and calls for professional attention and interest on the part of the sailmaker. Here's the sail. The attractive woman in the background is Mrs. Strongback.


And now work wil halt for a couple of weeks while we take a trip.


Thursday, October 7, 2010

More Sanding and Filling

Thursday, Oct. 7

No way to make the last few days sound more interesting than they have been. Both bnilding up a varnish finish and fairing a hull just take patience and persistence.

It takes about an hour to sand and varnish the spars. I put coat five on the mast and sprit, and the final coat six on the club.

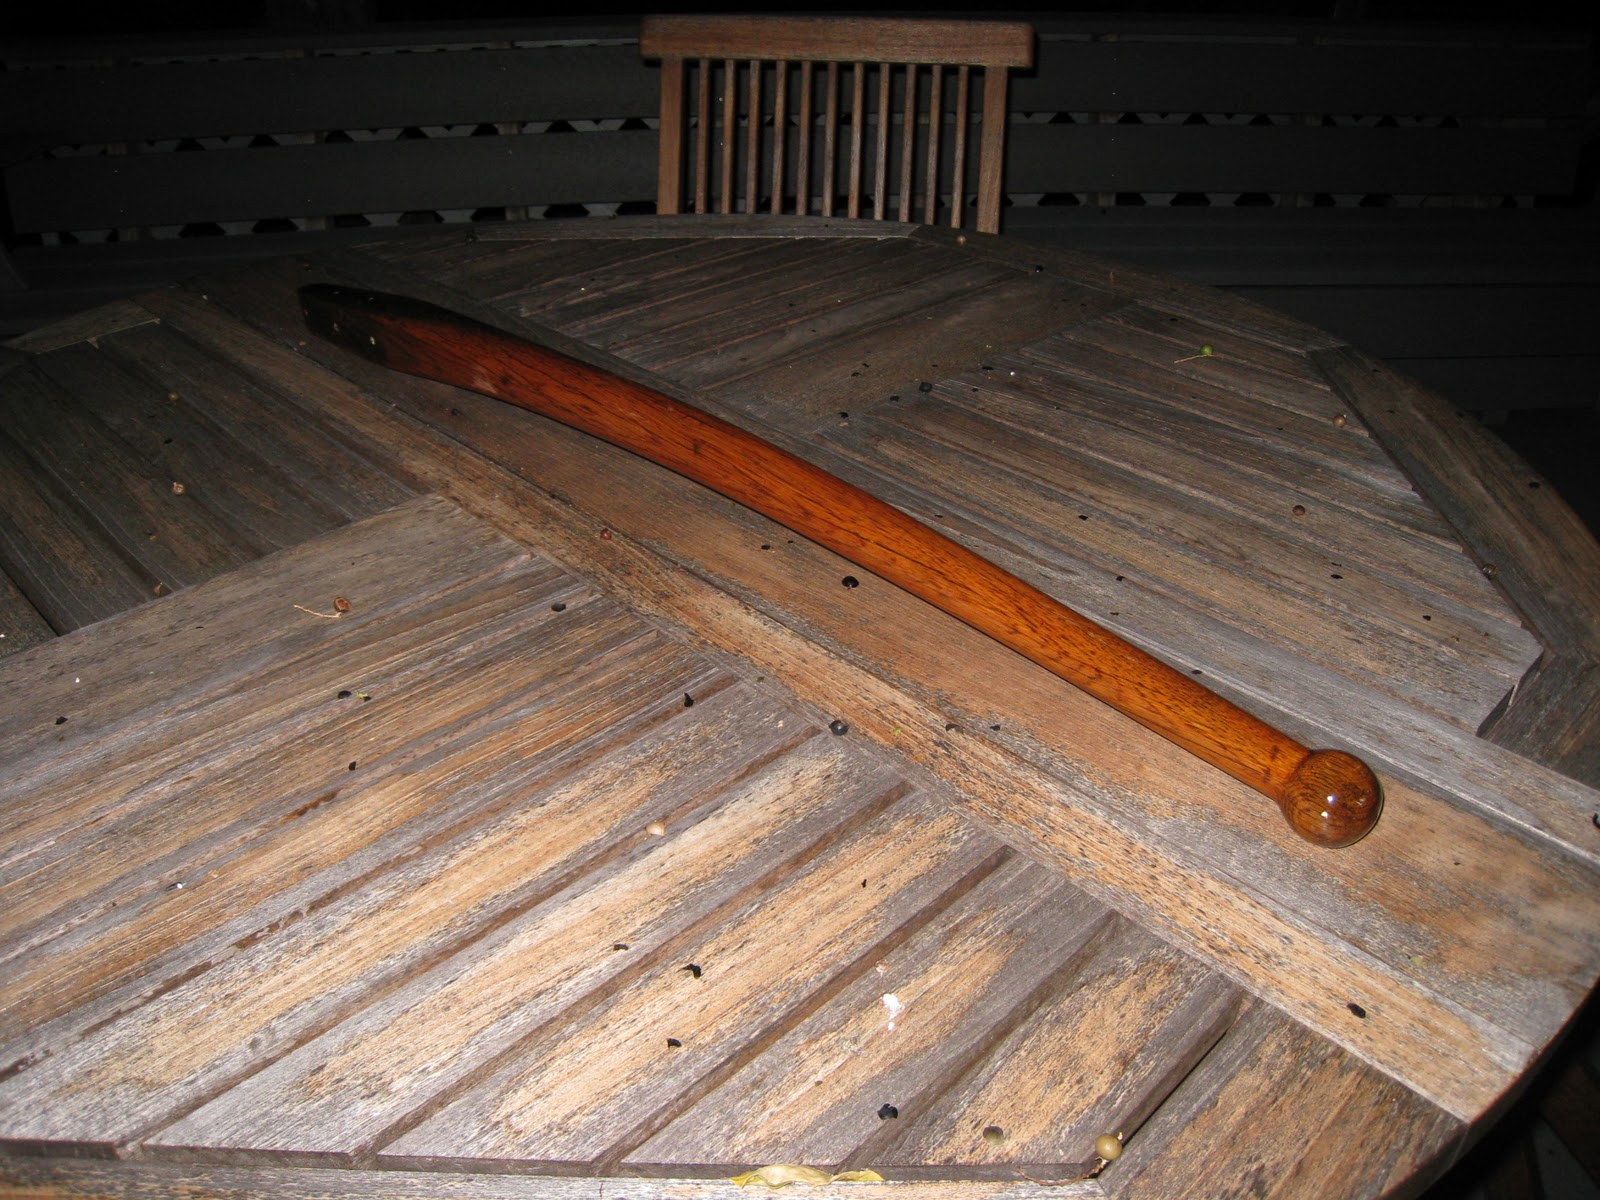
I decided to adapt the tiller from Maris Stella, the family boat of my childhood. It is the right size as long as I extend the part over the top of the rudder with stainless steel straps. It has the right downward bend, and it is already in beautiful condition. I refinished it for no particular reason last year, and today I gave it one more coat of varnish. Its connection with happy memories will be a pleasure, and I am willing to not make a new tiller from scratch. Maybe I can use the time saved to make oars instead. Here's the tiller:


On the hull, I sanded all the spots I filled yesterday, then went ahead and sanded and vacuumed the rest of the hull, then refilled any spots that needed re-doing. Next ahead: sand all those re-do spots and coat the hull with slightly thickened epoxy.