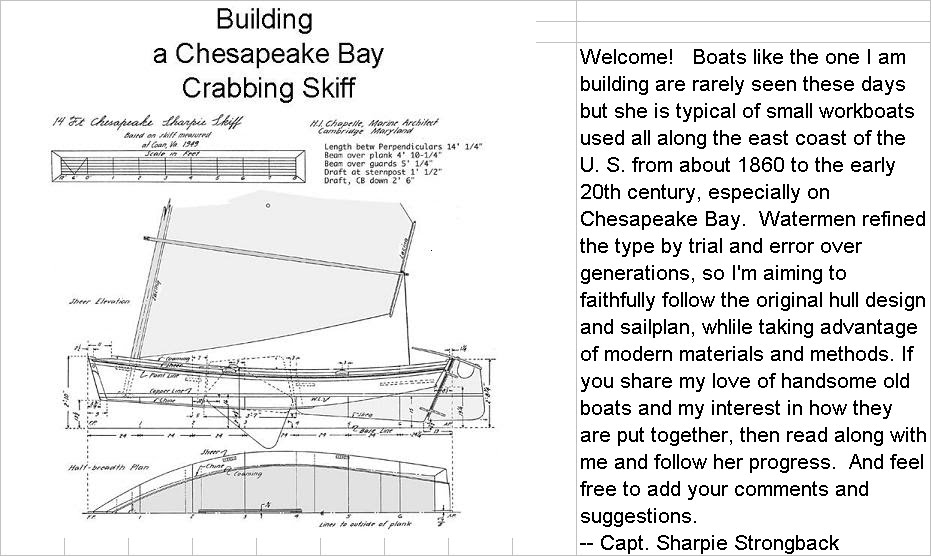
I said a couple of days ago that making a pattern for the skeg would be easy. By now, I should have known better. Easy, maybe, if done right. Quick, no. Rather than make a template for the skeg, as I did for the centerboard, I'm lofting it directly onto a sheet of plywood which will become one of the sides of the skeg; one slice of bread in the sandwich, if you will. Since the drawing requires a level baseline for reference to transfer the measurements from the plan, doing the drawing directly on the plywood will leave more scrap than doing the drawing on paper or thin strips of wood and tracing the pattern onto plywood, but this way skips one step. That's one less chance for a mistake or inaccuracy. In a couple of hours of work I got the skeg profile drawn and double checked. Then I went to Home Depot and bought enough 1x6 clear yellow pine to make the filling for the sandwich. That was today's work.
Here's the plan for the skeg: 1. Rough cut the shape of the skeg drawn on the plywood panel. 2. Lay the rough panel over the 1x6's and mark them to match the rough cut plywood panel. 3. Lay the three 1x6 boards together edgewise on a sheet of plastic (visquine) with the untrimmed second plywood panel underneath. 4. Epoxy the 1x6's together along their edges and clamp them. 5. Epoxy the rough cut panel onto the 1x6 filler boards, and screw it down with 1" wood screws to get a real good epoxy bond. If the screws are countersunk to just below the surface of the plywood, they may just barely show out the bottom of the 1x6 boards. If so, the worst that happens is they pierce the plastic (which is there to keep the boards from being glued to the floor or the panel underneath) and maybe make pinholes in the plywood panel underneath. After the epoxy sets up, I'll flip it over, peel off the plastic and epoxy and screw the other plywood panel to the other side of the filler boards. Then I'll cut out the whole assembly to the lines drawn on the top panel.
The skeg is to be integrated with the sternpost which will be fixed to the transom and extend to the bottom of the skeg. I can't count on the transom rake angle on the hull as built matching exactly the designed angle. In fact, I'd lay odds it is off by a degree or two one way or the other. That would make the sternpost not match up witht he skeg neatly. So I'll make the skeg a little long towards the stern, screw it onto the boat for a dry fit, extend a straightedge down from the transom, and mark exactly the line the aft end of the skeg should be cut to. The sternpost will be fixed to the rest of the skeg with long screws and epoxy, and the skeg will be fixed to the hull the same way. After the keelson is installed inside the boat, I'll put additional larger screws down through to affix the skeg. The skeg, sternpost and everything else on the hull's outside will be fiberglassed together.
One picture I want to insert shows the gripe, which I finished a couple of days ago. If you look close, or maybe even if you don't, you can see the assymetry I mentioned and lamented. My brother suggests evening it up with a router; not a bad idea.
A couple of technical changes I made to this blog. One allows anyone to comment, whether they have signed up with blogspot or not. The other is a hit counter. Surprisingly, it shows about ten hits a day. I don't have that many children that I know of, but whoever you are, you are welcome. If you are following the boat's progress and have any comments or suggestions, they will be appreciated. Don't be shy.
I will be having a medical refurbishment tomorrow, and I may have to lay off boatbuilding for a few days. Maybe I'll write up what I know about the boat's ancestry.

No comments:
Post a Comment