
Most of today's activity was finding materials for the centerboard pivot pin assembly. A fruitless search for a non-ferrous 1/2" pin, settling for galvanized. But I did find some nylon spacers, 1/2" inside diameter. They will make good bushings to keep the centerboard from wearing and exposing the wood to moisture.
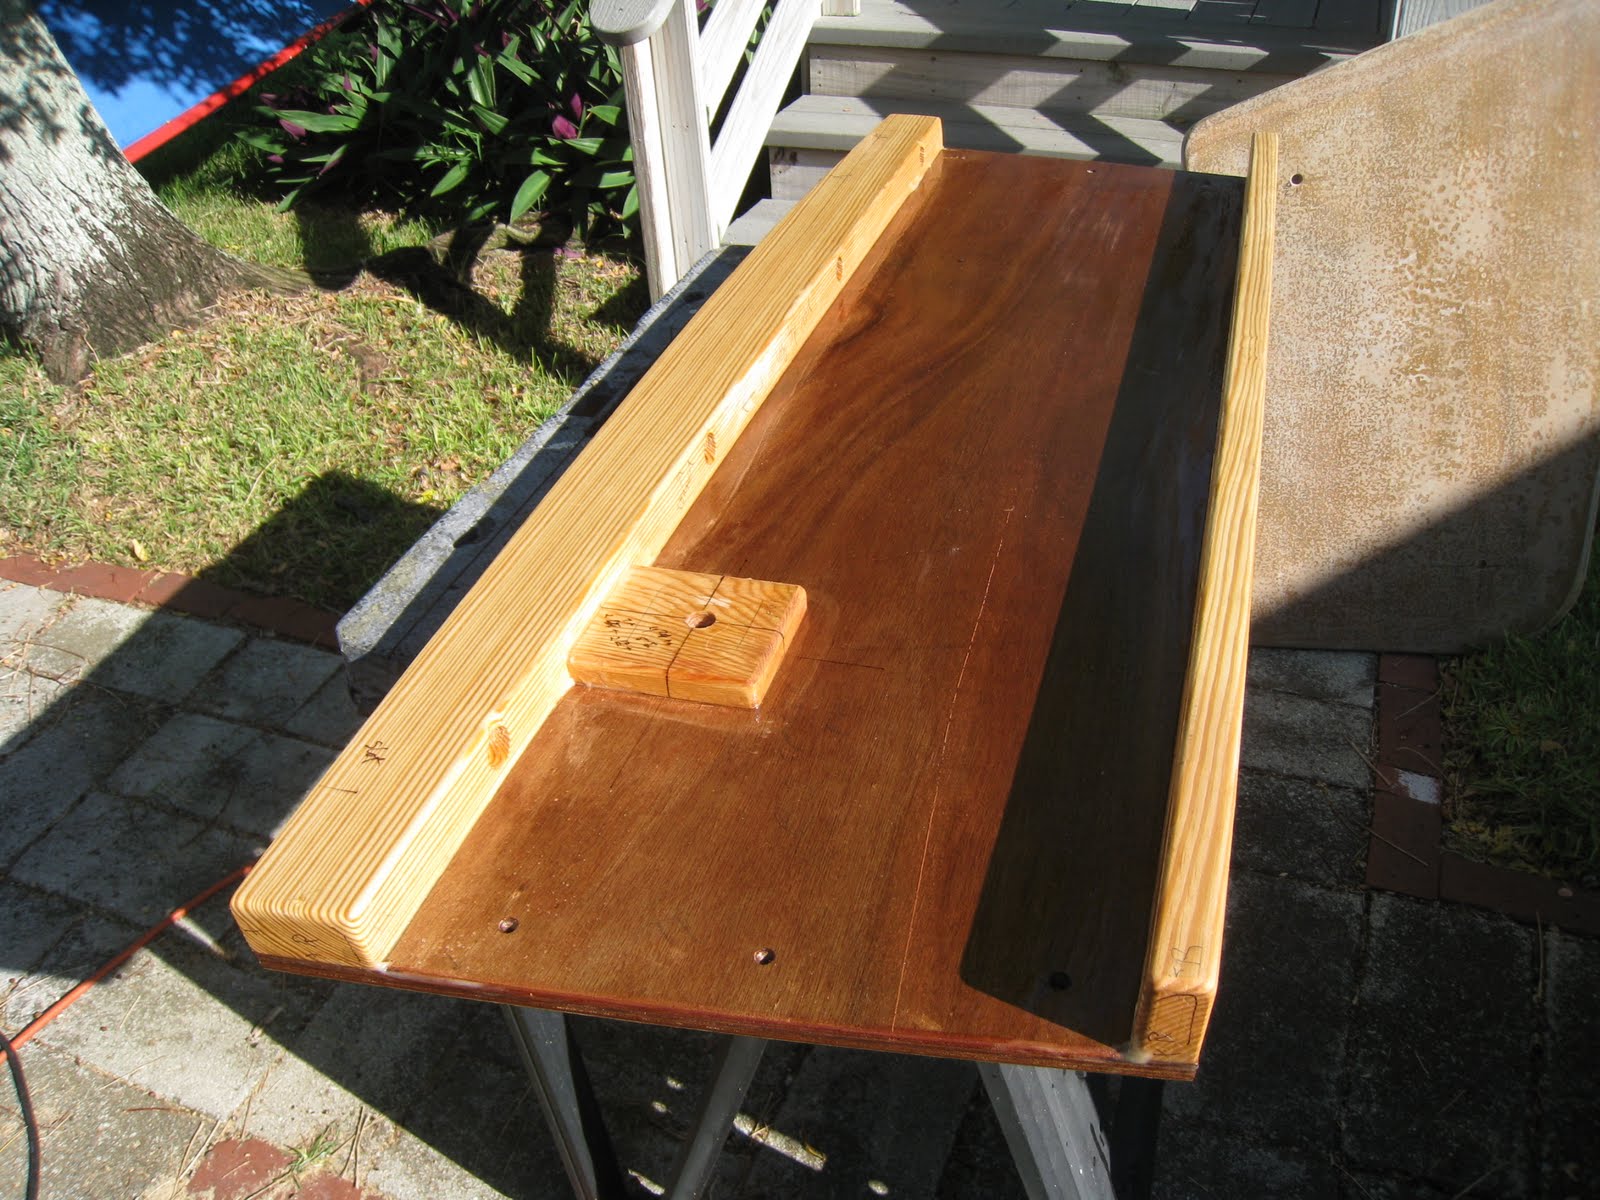
The plans simply say "1/2" pin", with no suggestion how to keep it from leaking or abrading the centerboard or the trunk. The pin location on the centerboard trunk I've built is just 1/2" plywood: not a good thickness to bear weight. A bolt would have to be tightened against washers to make it waterproof, which might distort the trunk sides and maybe even make the centerboard bind. I've given it a lot of thought, and what I settled on is an unthreaded pin which goes all the way through the trunk sides and centerboard, and through wood blocks attached outside the trunk sides, with the outside holes covered by a metal plate screwed on, with bedding compound underneath the metal plate for a sealer. A picture might help, but for some reason the following photo uploads rotated 90 degrees to the left; turn your head to the right to get the right side up.

Monday, Sept.20-
No boatbuilding Saturday or Sunday as we had a houseguest, but today I got some good work done. Working to improve the fit between the bottom of the centerboard trunk and the keelson, I sanded the keelson to get rid of any invisible high spots. Then I put the trunk in place and used a slip of paper as a feeler gauge between them to locate the contact points and sand them off. Of course, I checked and rechecked that the trunk remained plumb each time I sanded it.
Finally satisfied with the fit, I unscrewed the sides from the headledges and secured the wooden blocks backing up the pivot pin to the trunk sides, screwing them on from the inside of the trunk sides. I disassembled the trunk and used the router and sander to round off and smooth exposed corners. Next I matched up the two sides and, after double and triple checking, drilled the hole for the pivot pin through both sides and both backer blocks, and also drilled the pivot pin hole in the centerboard itself. Then I was ready to do some permanent assembly with epoxy adhesive. I glued and screwed the wood backer blocks on, and glued and screwed the caps and logs to the trunk side, Then I sealed the trunk outsides with penetrating epoxy, and did the same for the inside faces of the headledges. Finally, I sealed the thwart riser pieces, which had been partly done before, and left it all to cure overnight.
.
I still need to fill the screw holes on the inside and paint the inside of the trunk. Then I can permanently attach the two trunk sides together and, except for a little final filling, sanding and painting, the centerboard trunk will be done and I can drill the bolt holes to mount it in place.

No comments:
Post a Comment